1. Install Lemur Project
C_brains ships as a standard .jzml file and can be installed like any other MK Lemur controller. If you are new to using MK Lemur controllers, check our main article Installing MK Lemur Controllers for first steps.
For instructions on how to update to a new version, see Software Updates: Transferring Settings to a New Version.
2. Install Logical Editor Commands
- Quit Cubase.
- Drag the C_brains Command Set folder into Cubase’s Logical Edit presets folder. Existing Cubase users will note that this folder location has changed from previous versions.
Tip: Some installations of Cubase might not create a Logical Edit folder. Just create a folder named Logical Edit if it doesn’t exist.
Tip: The easiest way to jump to this file location is to open the command prompt and type %appdata%/Steinberg
3. Create MIDI Kinetics remote folder directory
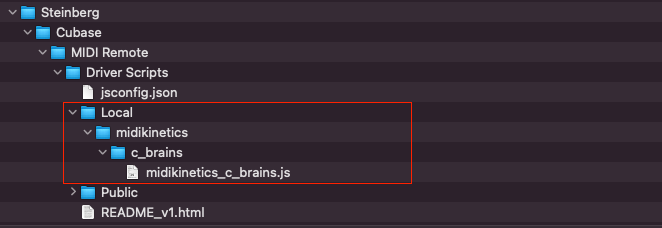
- Drag the midikinetics remote folder that comes with C_brains into Cubase’s MIDI Remote folder directory, inside the Local subdirectory.
When you are done, the folder structure should look like this:

4. Decide which MIDI port you want to use
Pick an unused MIDI port and commit yourself to using it for C_brains only. Check your MIDI flow to make sure this port isn’t being used in any other pipeline. This includes your connection to MKConnect and to any other MIDI tracks or Generic Remotes.
5. Install the remote
- Launch Cubase and open the MIDI Remote panel.
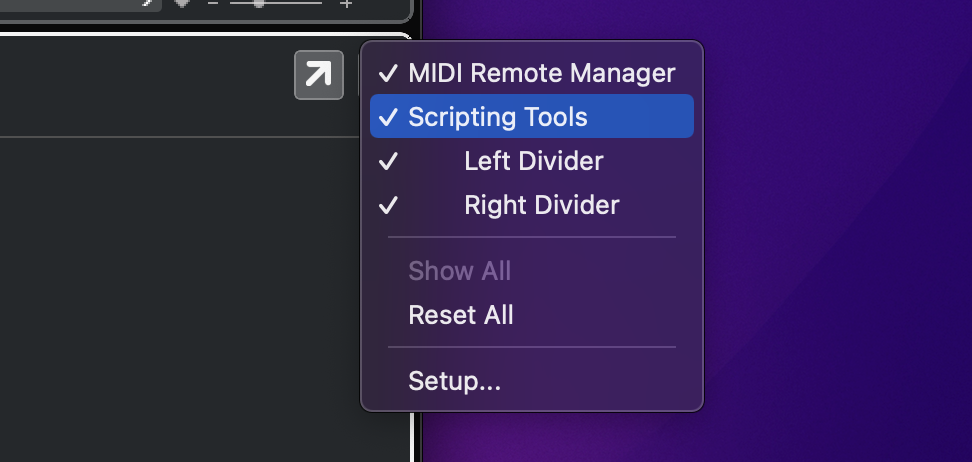
- In the Scripting Tools panel, click Reload Scripts to ensure Cubase sees the new remote.

- Click the plus button to add a new remote:

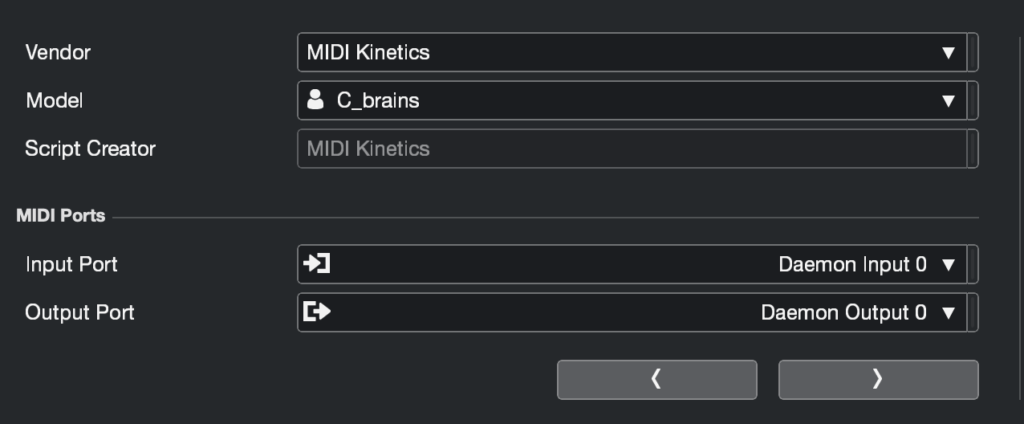
- Select Vendor: MIDI Kinetics, Model: C_brains, and choose the MIDI input and output you want to use. Then click Activate Remote.

6. Block Cubase from recording C_brains and MKConnect’s output on your tracks
- Go to Studio > Studio Setup.> MIDI Port Setup.
- Uncheck C_brains’ and MKConnect’s MIDI connections from In ‘All MIDI’.

7. Ensure MIDI Display Resolution is set to Cubase defaults
For the Selector to properly perform rhythmic selections, Cubase’s MIDI display resolution must be set to the default setting of 480 PPQ (120 Ticks). This setting can be found in Cubase Preferences: MIDI.


